I Did A Thing!
Today I got to learn how to remove a broken old hard drive from a laptop and replace it with a Solid State Hard Drive (SSD) with the expert help of my IT guy on the phone.
NEW WORD ACQUIRED:
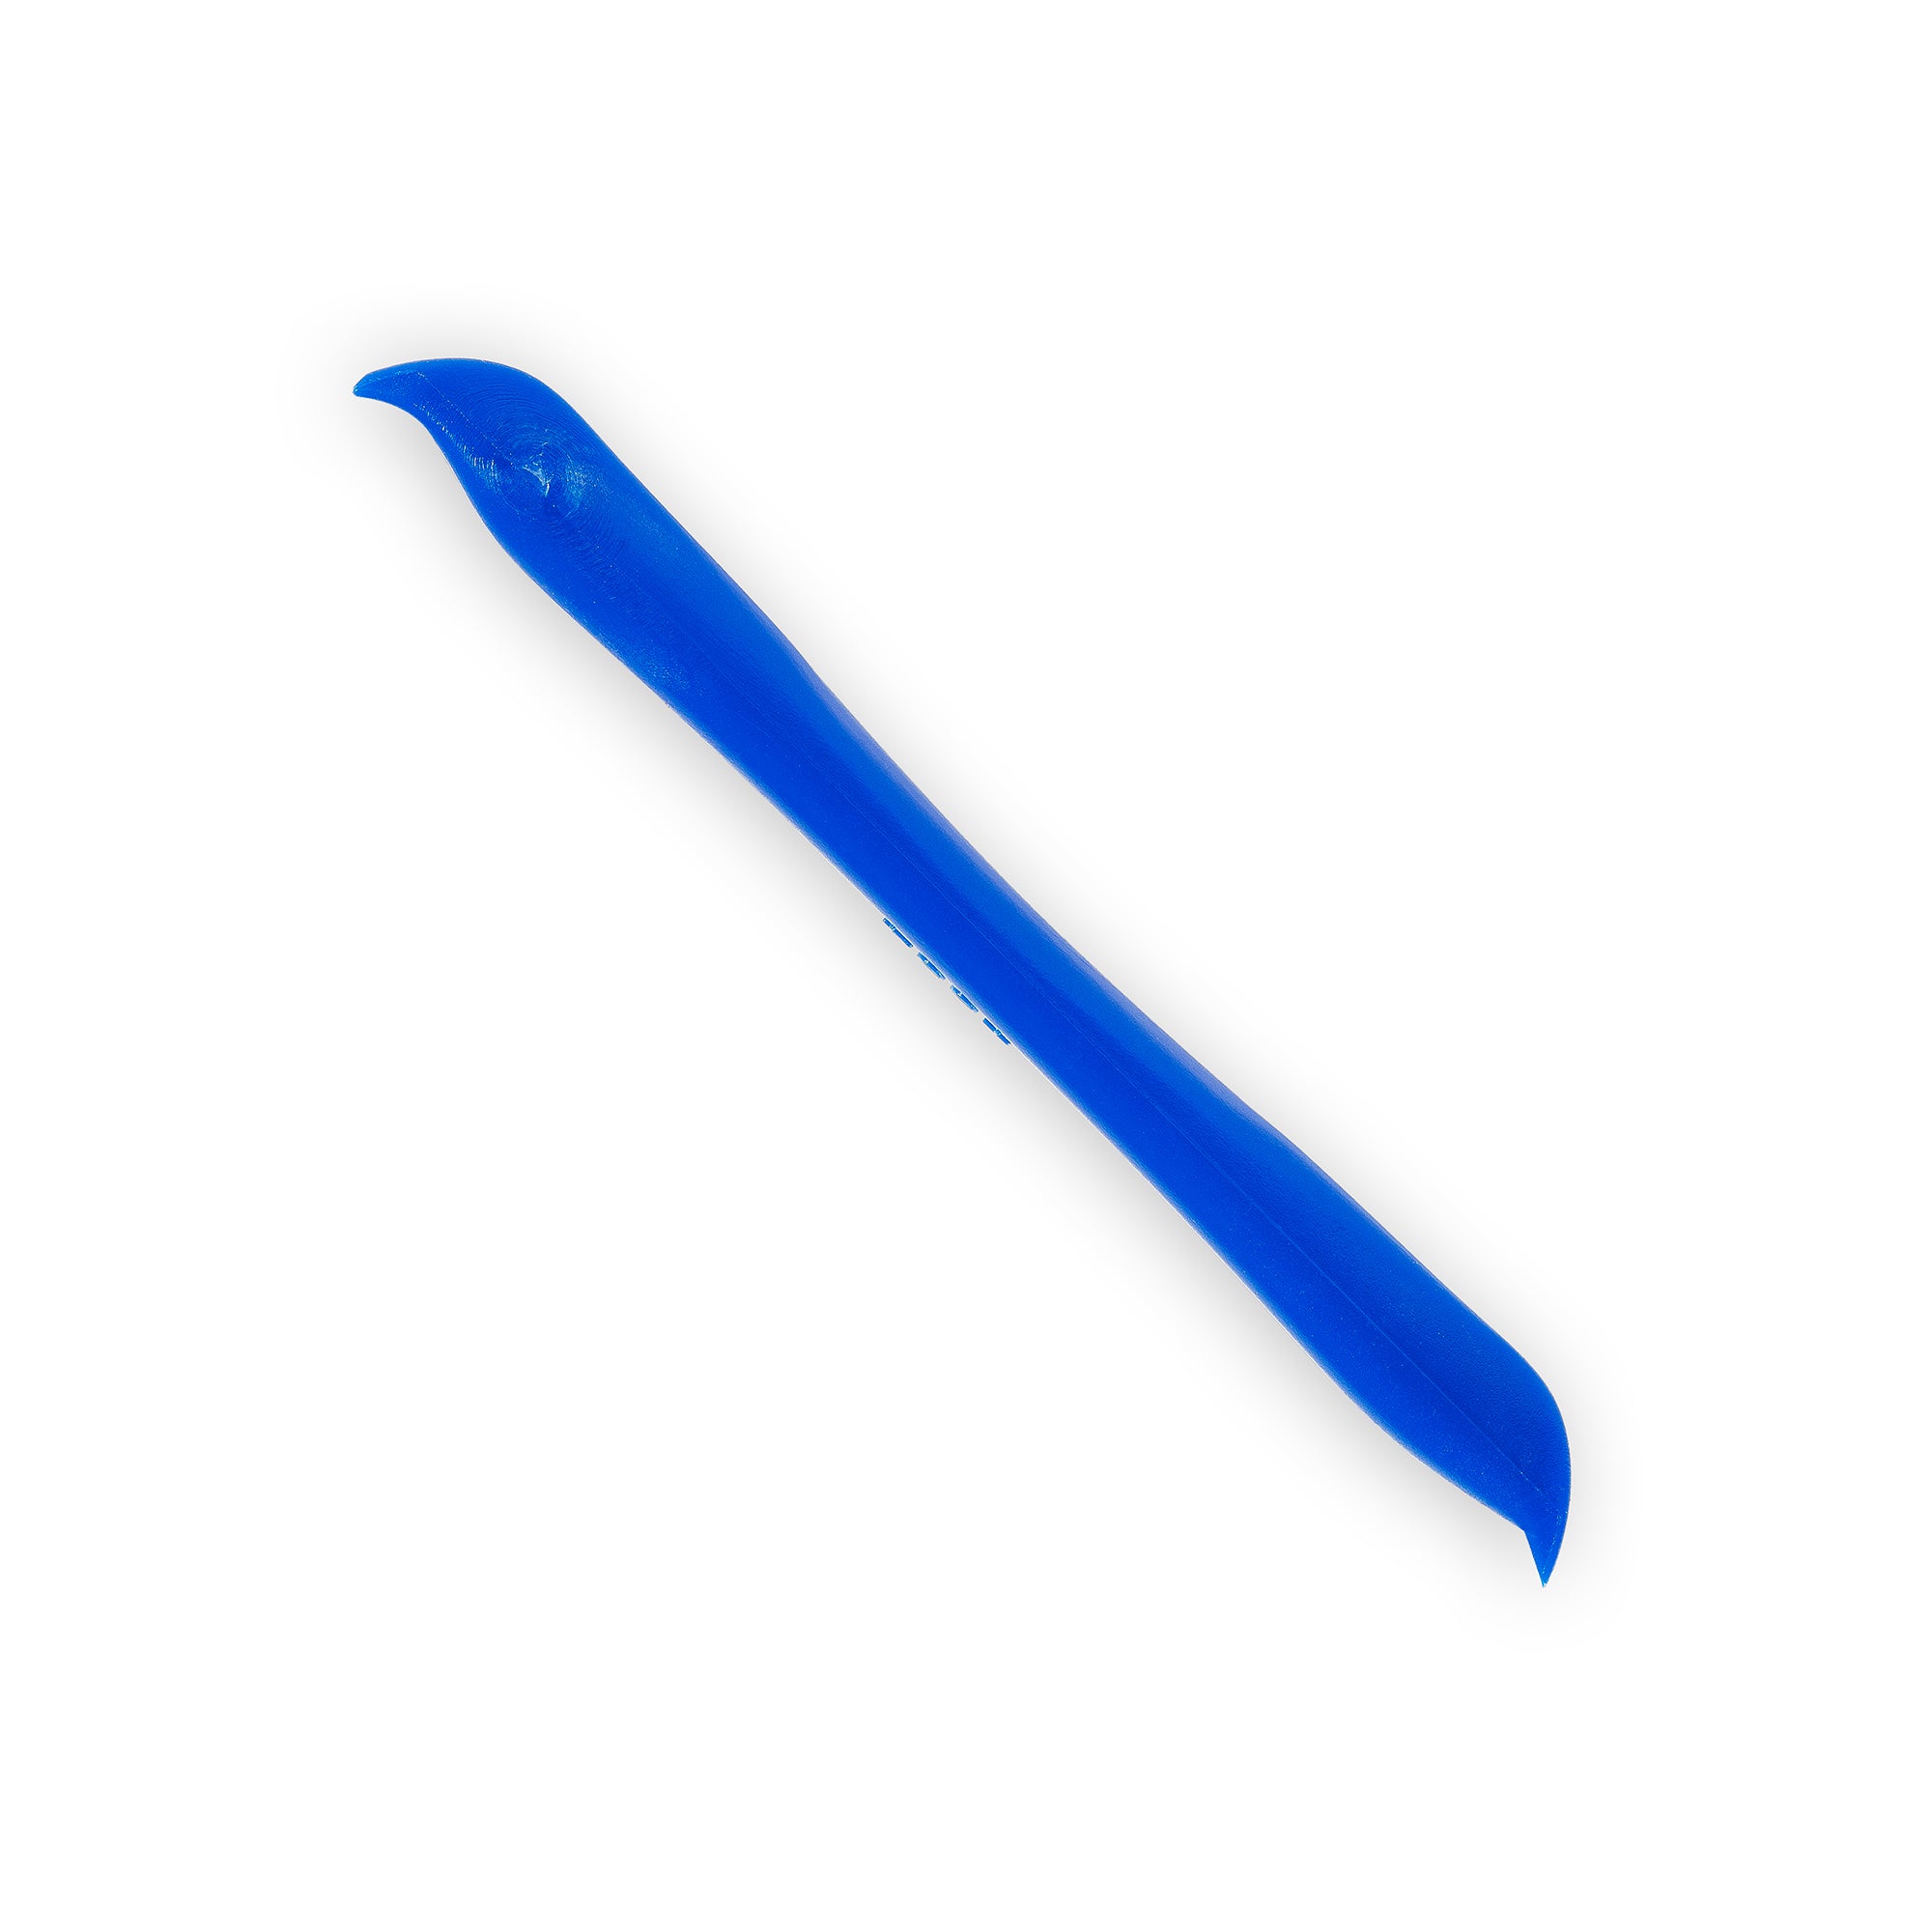
SPUDGER
A spudger is a plastic tool that you can use to gently pry things apart inside (or outside) on a computer. Especially helpful when popping a keyboard off of a laptop! It is also called a
Pry Tool:
Pry Tool:
First, I used the spudger to pop the keyboard off. Then I had to gently lift up the black bar on the ribbon wire and pull the ribbon out so the keyboard could be set to the side.

I had to unclip those two ribbon wires in order to remove the keyboard.

Now that the keyboard is off, I have to remove 5 screws from the silver area. 3 of them came out fine, but the other two were stuck tight and I was worried I would strip them! So I did what any weak handed woman who doesn't want to break a nail would do: I called a man! Pastor Tom to the rescue - he had a really nice screwdriver and in no time he had those last 2 screws out.
After that was done, I flipped the laptop upside down, removed the battery (it was dead anyway), and started unscrewing the 12 screws back there. Next I removed the three little silver screws from the Optical Disk Drive (ODD), otherwise known as a DVD-ROM drive (the thing you put DVDs in to watch a video on your computer, or burn a video to the disk from the computer), and pulled it out.

I discovered the little "button" in the above pic that my IT guy didn't know about :) Pushing it with the spudger tool helped me pop the tabs out so I could start loosening the case. Sometimes I try stuff when I'm not sure what it is and I always learn something!
While I was in there I changed the BIOS battery. Those are C2032 button batteries that help the computer keep time and date and also keeps its connection to the operating system so you don't have to install it every time you turn on your computer. Most electronic devices have them. Even my camera has one!
Here is what they look like and how to change them:

It doesn't seem like a big deal but if they go dead it is a pain in the butt! Plus you have to take the whole computer apart to get to them.
Next I turned my focus to the hard drive.

This is what the old hard drive looked like! You can't tell anything was wrong with it but when this computer was on, it was incredibly slow and couldn't even handle opening the internet without tapping out the memory usage.

I removed the carriage and here is the inside of the laptop with no hard drive.

See that skinny ribbon wire in the middle of the pic? It is what attaches the hard drive to the motherboard. It is the reason I had to perform this operation twice! In the pic, you can see the new SSD on the right. That ribbon wire is supposed to be facing the other way so I had to flip the drive over so it would fit.

Close up of the ribbon wire and the clip I needed to stick it in.

See under Device Information where it says SATA-0 =(none)? That's bad. That means I didn't do it right! Time to open it up and try again!

It only took me about 1 minute to take it back apart because I already knew what I was doing.

If you look close at the purple tab on the ribbon clip, you can see what I did wrong. Those two little tabs are NOT supposed to be sticking out - they are supposed to be inside that clip that it is partially in! I opened the clip and pushed the purple bit in farther and waahhhlaahhhh it fit much better!
I put everything back together again and screwed the bottom of the case back on.

Time to put the keyboard back on again! The ODD ribbon wire had to be pulled out and plugged back in to the clip so the DVD-ROM would work again.

Success! Despite the glitch screen, this computer booted up just fine, recognized the new hard drive, and the IT guy got to work getting it up to speed with our network. A very satisfying project!
I also helped switch our old firewall to a new, better one today. That was very simple compared to the laptop :)
Comments
Post a Comment